Getting Started
Welcome to Quepid, your search relevancy toolkit. Getting started is easy and we will walk you through the concepts and features to get you setup and tuning relevance in no time.
Core Concepts
First, let's walk through a few of the core concepts in Quepid.
Case: A case refers to all of the queries and relevance tuning settings for a single search engine. If you want to work with multiple instances of Solr or Elasticsearch, you must create a separate case for each one.
Query: Within a case, queries are the keywords or other search criteria and their corresponding set of results that will be rated to determine the overall score of a case.
Rating: Ratings are the numerical values given to a result that indicates how relevant a particular search result is for the query. How each rating is interpreted depends on the scorer used for the query (or case), but usually the higher the number the more relevant the result is.
Result: Within a query are the individual results, which are rated to determine the cumulative score of a query. Sometimes results are also referred to as documents (or docs).
Scorer: A scorer refers to the scale used to rate query results. Quepid ships with several classical relevance scorers such as AP, RR, CG, DCG, and NDCG, as well as the ability to create custom scorers.
Snapshot: A snapshot is a capture of all your queries and ratings at a point in time. It is important to take regular snapshots of your case to use as benchmarks and ensure that your search relevancy is improving.
Team: A team refers to a group of individual users who can view and share cases and custom scorers.
Try: A try is a saved iteration of a case's settings. Quepid is a developer tool and we expect developers to constantly tweak the settings, and sometimes you would want to go back to a previous iteration that had better results, so we've made that an integral part of Quepid.
Creating an Account
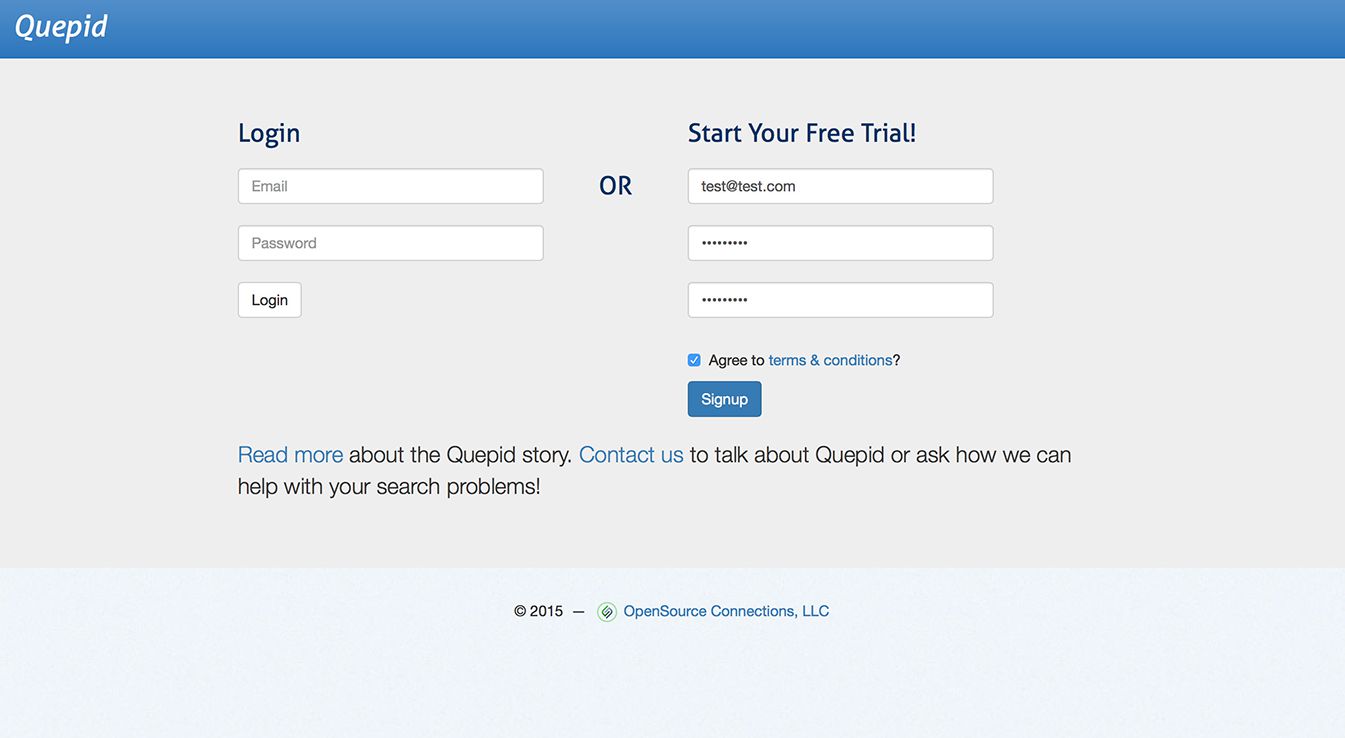
All you need is an email address to sign up for free.
Quick Start Wizard
The "Quick Start Wizard", which launches on first login or any time you create a new case, will guide you through configuring your Solr or Elasticsearch instance and setting up your case.
- A Solr or Elasticsearch instance that is accessible from your browser
- A list of desired fields from your search engine
Naming Your Case
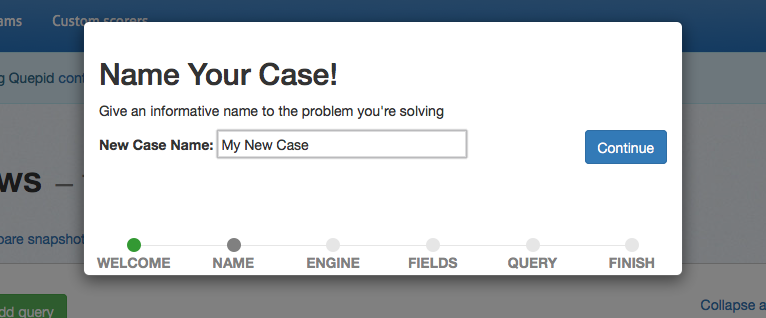
First you will be required to enter a case name. Select something descriptive to distinguish between your cases.
Connecting your Search Engine
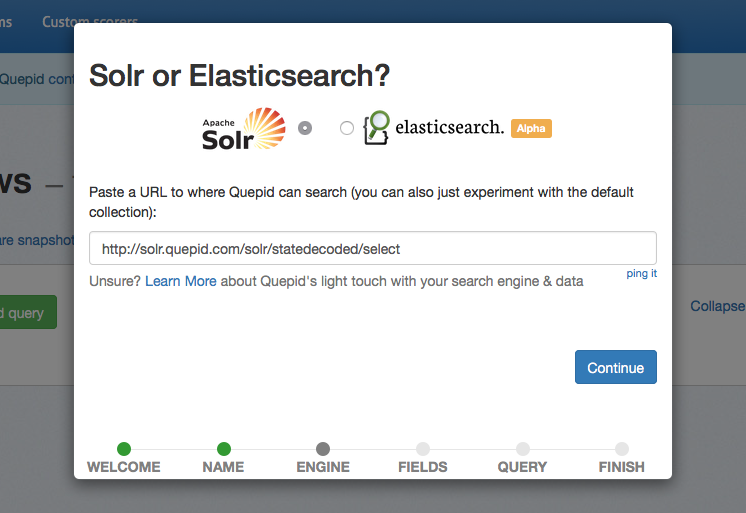
Quepid does not require any installation on your server. All you need to do is indicate which search engine you are working with, and provide the URL to your search engine. Currently Solr and Elasticsearch are supported.
You will be able to update this URL at any point in the settings. If you want to try Quepid out without providing your data, feel free to leave the default collection selected.
Selecting Fields to Display
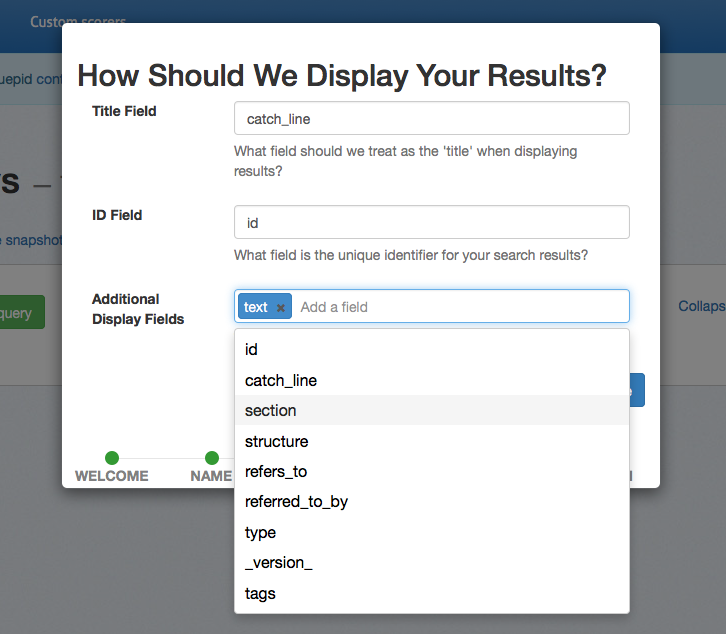
Specify the title field to use for display purposes. This typically corresponds to the field you use as a clickable title in your application while displaying search results. The application provides an autosuggest list of potential fields, but you are free to use any field in you search engine.
The ID field is the only other required field to use Quepid. This should correspond to the unique identifier specified in your schema and should be a number or string, but not a URL. The ID is the only field stored in Quepid, so your sensitive data will remain securely on your servers.
You can select additional fields if you would like to see other data in your Quepid results. You can also specify images with the following syntax: thumb:field_name and video/audio with media:field_name. Fields that have a value that starts with http will be turned into links.
Adding Queries
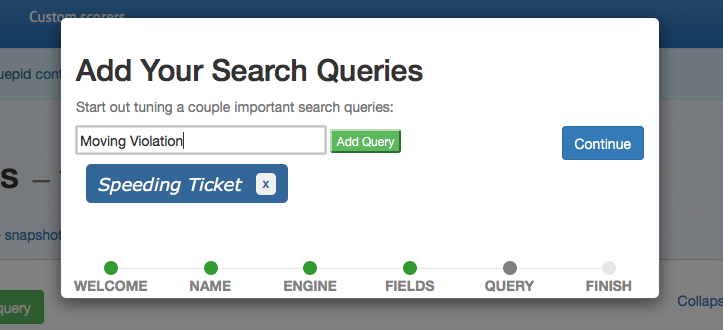
At this point the required setup steps are complete. You have the option to provide some initial queries, but you can also add queries at any time in the application. It is helpful to add at least one query here so that your results will be populated when the application initially loads.
Finishing the Wizard
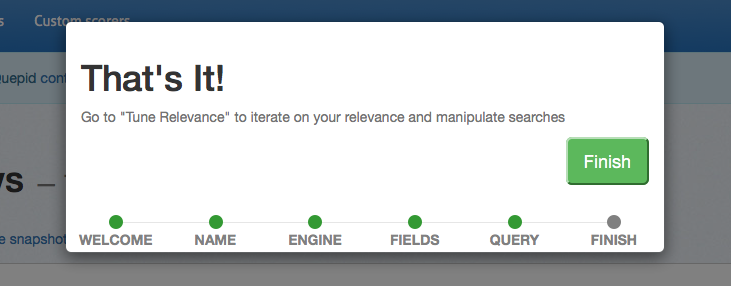
That's it! Quepid is configured and you can now proceed to exploring the Quepid interface.
Exploring the Interface
Now that we have the basic setup out of the way, let's take a look at the major elements of the Quepid interface.

1. Relevancy Case Dropdown- The relevancy case dropdown is where you will select a case to work on and create new cases.
2. Case Information- This area displays summary information of the current case, including case name, the average score of all queries, and the current try, or iteration in the relevancy dashboard history.
3. Case Actions- This area displays available actions for the current case, including selecting a scorer, creating and comparing snapshots, sharing, and toggling the relevancy tuning panel.
4. Queries- Here you can add queries to the current case and view existing queries. Click on the arrow to the right to view and rate results for each individual query.
5. Relevancy Tuning Panel- The relevancy tuning panel allows you to modify search relevancy settings and tune your searches. This panel is closed by default and can be opened in the case actions section.
6. Quepid Support- All pages of the Quepid application include the Quepid support chat window. Click the icon in the bottom right hand of your screen and our search relevancy experts will assist you with any issues or questions you may have.
Cases
In this section, we will review working with cases in Quepid. If you've logged into the application and gone through the "Quick Start Wizard", then you have already created your first case.
Creating a New Case

If you would like to create an addition case, you can do so under the Relevancy Cases dropdown. Clicking on "Create a case" will launch the "Quick Start Wizard" and walk you through creating another case.
Importing/Exporting Cases
The importing and exporting of cases takes place on the case dashboard, which you can reach by clicking on "view all cases" under the relevancy cases dropdown.

Here you can import cases from a CSV file. You can also export to a CSV file all cases, just the cases you own, or just the cases shared with you. With Quepid, the data is always yours and it is easy to export should you need it.
Managing Cases
Also on the case dashboard, you can manage existing cases. You can see both the cases you own and those that have been shared with you.
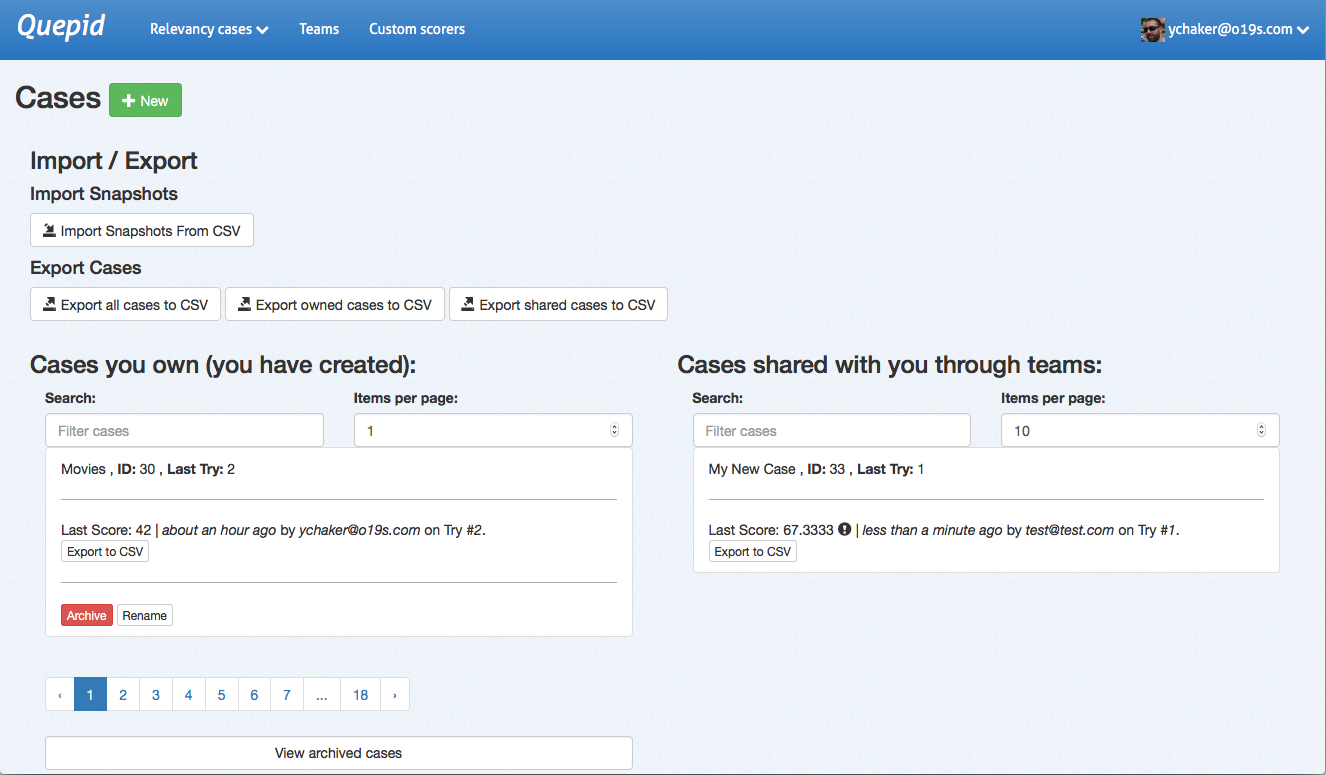
For each set of cases, you can filter the list by name and number of documents per page, as well as paginate through the pages if you have a larger number of cases. You can also click on the case name to open that case in the main Quepid dashboard.
For each case, you have the ability to archive or rename. Cases should be archived when they are no longer considered active. You can still access archived cases using the "view archived cases" at the bottom of the page. You can also click on the case name to open that case in the main Quepid dashboard.
Queries
If you completed the "Quick Start Wizard", you may have already added a few queries. In this section, we will explore how you interact with queries and what actions can be taken.
Adding Queries

Adding additional queries is simple. Just type in your search term(s) and click "Add query" and Quepid will populate the results. A newly added query will display an empty score, the title, and the number of results found. Click on the arrow to expand a single result:
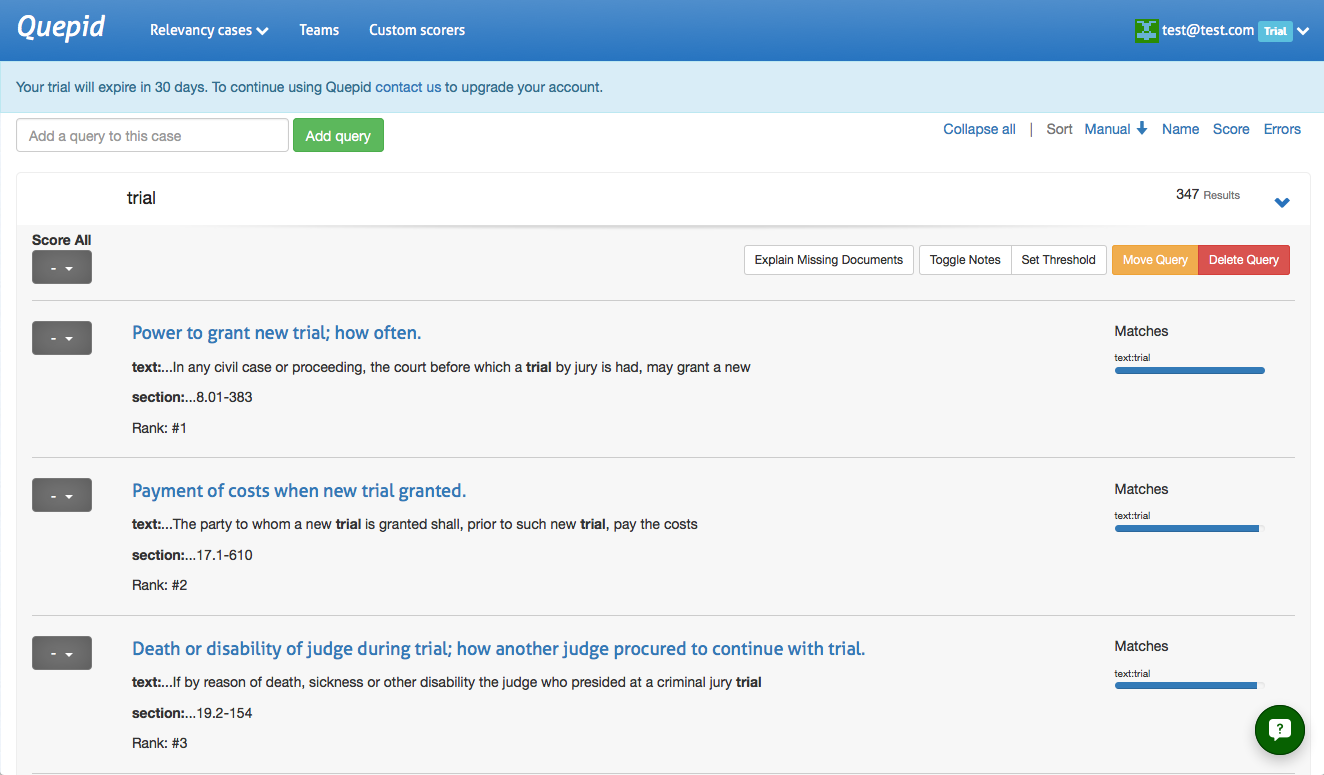
Want to add a number of queries all at once? Just seperate them with a ";", like so: "star wars;star trek" and click "Add query".
Rating Queries
Queries are rated through the dropdown to the left of each result. Clicking on the dropdown will bring up the rating scale based on the scorer you have selected. At this point, your scorer is likely still the default 1 to 10 scale.
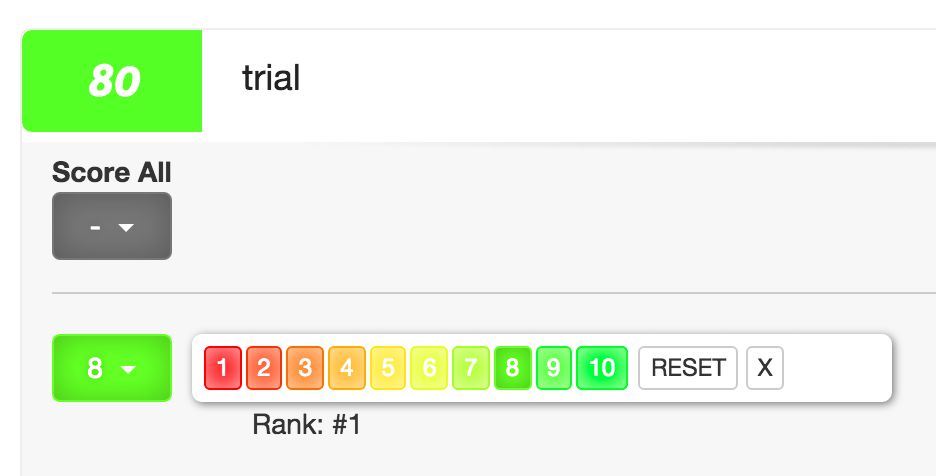
In addition to rating individual results, you can use the "score all" dropdown to rate all results the same for a query. As you rate each query, the average score for both the query and the case will be automatically updated.
Explain Missing Documents
You now know how to rate documents that appear in your top ten results. What happens if good documents you expected to be returned by a particular query are not even showing up? You will need a way to indicate that more relevant documents, that do exist in the data, are missing from this desired results in this result set, and in an ideal future state of the world, would be found by this same query. Here's how that is accomplished.
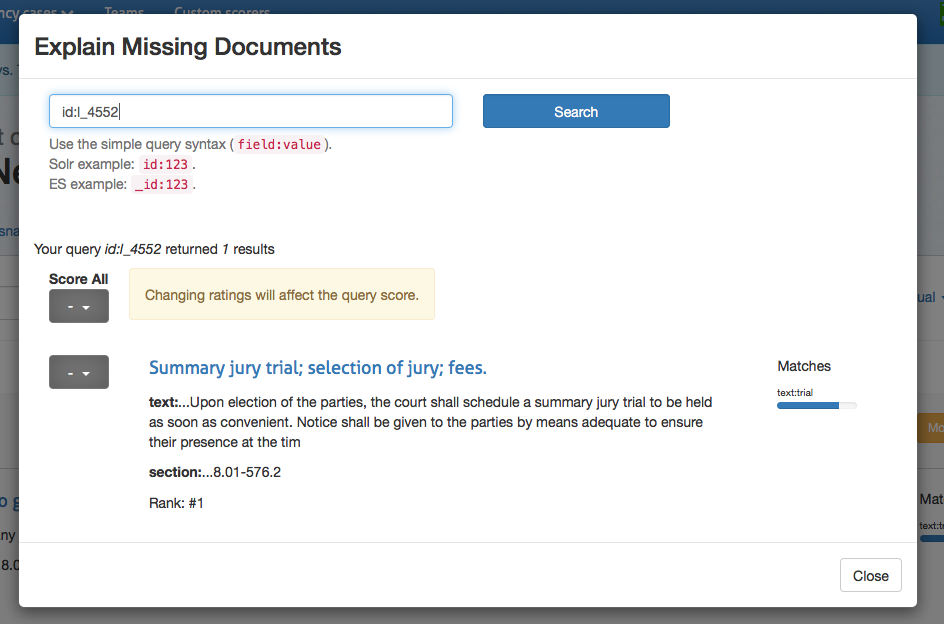
Clicking on "Explain Missing Documents" will bring up a dialog box that initially shows you all of the documents that you have rated, but aren't being returned in your top ten results. Here you can also find additonal documents to rate, just use the Lucene syntax to query for them. If you're looking for a specific document and you know the ID, that is the simplest way to locate it. Once you have rated the missing document, that rating is factored into the algorithm.
Managing Queries

In addition to rating queries, there are several other actions you can take. You can open the notes panel, where you can make comments on your query for yourself or another team member. A great place to document the information need this query represents.
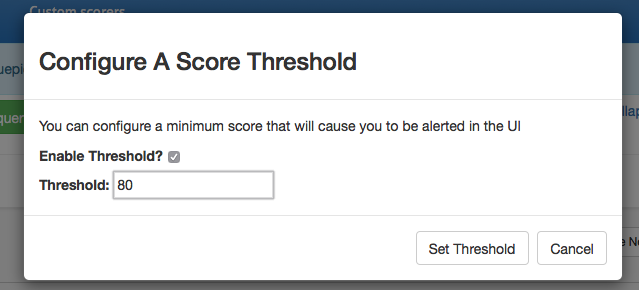
You can also set a threshold for each query, a minimum score below which a warning icon will be displayed in the UI. Setting thresholds is an important method of managing benchmarks and goals, particularly as you are managing larger numbers of queries.
You can also move queries to other cases, and finally, you can delete queries.
Snapshots
Another important step in the benchmarking process for Quepid is taking regular snapshots of your case over time and comparing them to ensure that relevancy is improving.
Creating Snapshots
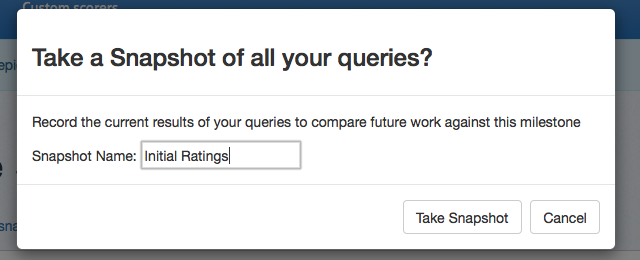
When you are ready to take a snapshot, click on "Create Snapshot" in the case actions area to bring up the snapshot dialog box. From here, give your snapshot a descriptive name and click "Take Snapshot." The current ratings for all of your queries are now saved.
Comparing Snapshots
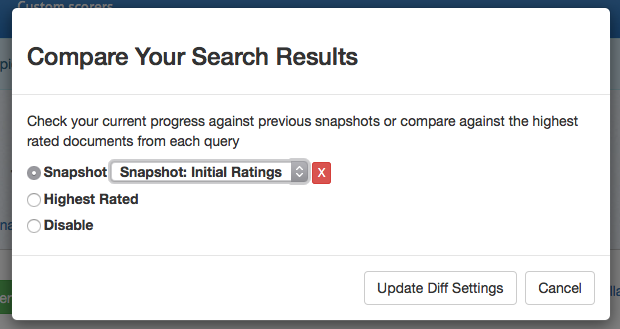
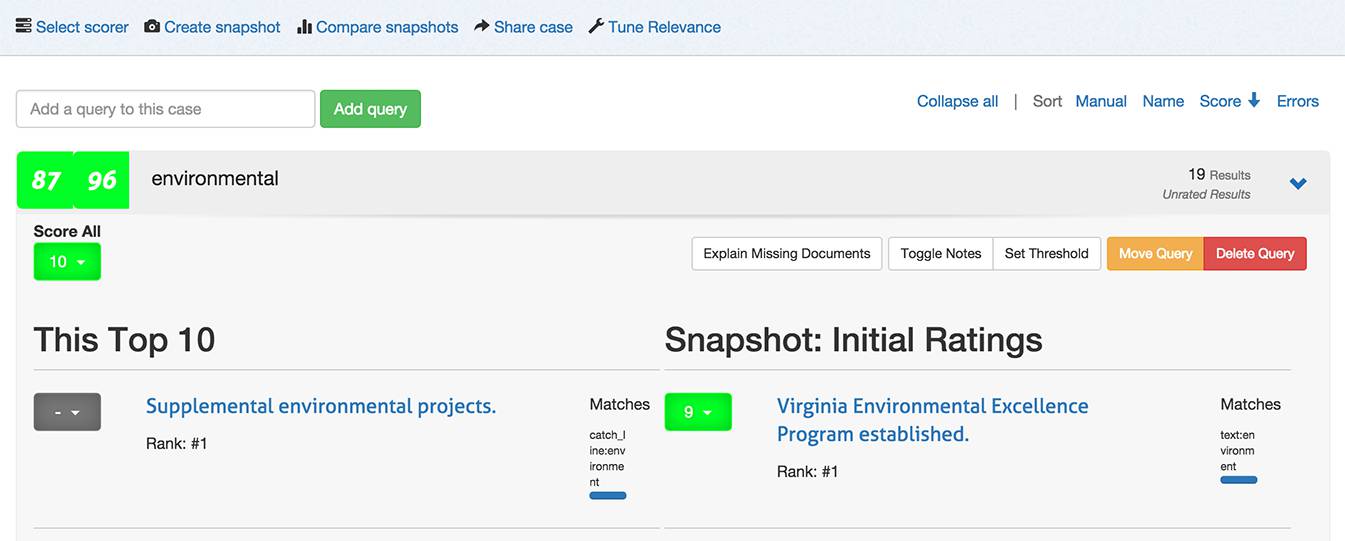
Once you have made improvements to your search relevancy settings, you will want to judge your improvement. Click on the "Compare snapshots" to view your current results with a previous snapshot. You can now see the scores and results side-by-side for comparison.
Scorers
Scorers are run over all your queries to calculate how good the search results are according to the ratings you've made.
You can specify whatever scale you want, from binary (0 or 1) to graded (0 to 3 or 1 to 10) scales. Each scorer has slightly different behavior depending on if it handles graded versus binary scales.
Classical Scorers Shipped with Quepid
These are scorers that come with Quepid. k refers the depth of the search results evaluated. Learn more at Choosing Your Search Relevance Metric blog post.
| Scorer | Scale | Description |
|---|---|---|
Precision P@10 |
binary (0 or 1) | Precision measures the relevance of the entire results set. It is the fraction of the documents retrieved that are relevant to the user's information need. Precision is scoped to measure only the top k results. |
Average Precision AP@10 |
binary (0 or 1) | Average Precision measures the relevance to a user scanning results sequentially. It is similar to precision, but weights the ranking so that a 0 in rank 1 punishes the score more that a 0 in rank 5. |
Reciprocal RankRR@10 |
binary (0 or 1) | Reciprocal Rank measures how close to the number one position the first relevant document appears. It is a useful metric for known item search, such as a part number. A relevant document at position 1 scores 1, at positon 2 scores 1/2, and so forth. |
Cumulative Gain CG@10 |
graded (0 to 3) | Information gain from a results set. It just totals up the grades for the top k results, regardless of ranking. |
Discount Cumulative Gain DCG@10 |
graded (0 to 3) | Builds on CG, however it includes positional weighting. A 0 in Rank 1 punishes your score significantly more than Rank 5. |
normalized Discount Cumulative Gain nDCG@10 |
graded (0 to 3) | nDCG takes DCG and then measures it against a ideal relevance ranking yielding a score between 0 and 1. Learn more about nDCG (including some gotchas) on the wiki. |
Selecting a Scorer
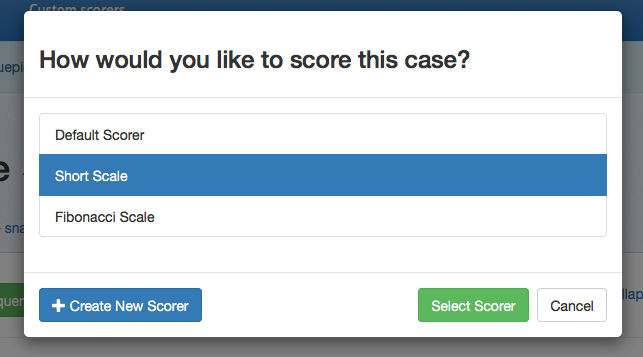
By default, there are several scorers available. From the main dashboard screen, click "Select scorer" to choose from the available options. If you want to use a different scale for rating, click the "Create New Scorer" button. This will take you to the custom scorers page.
Creating a Custom Scorer
This page lets you change which scorer is your default scorer when you create new Cases.
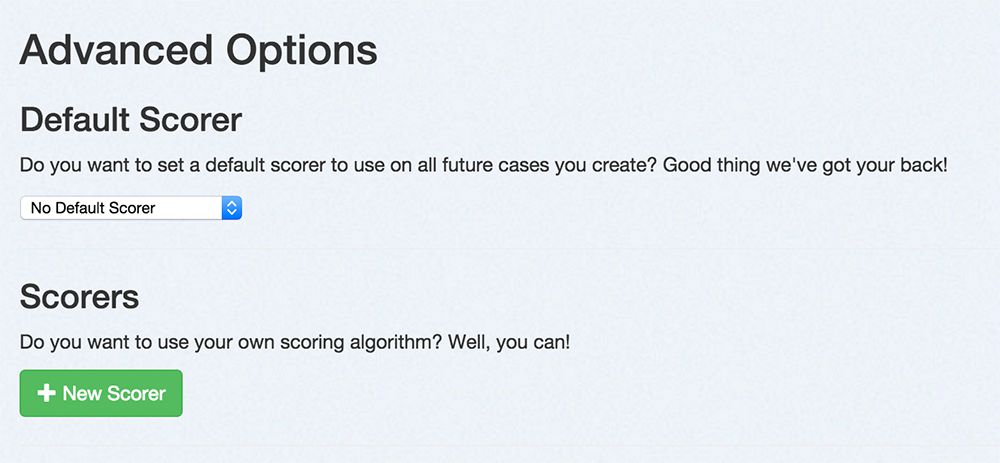
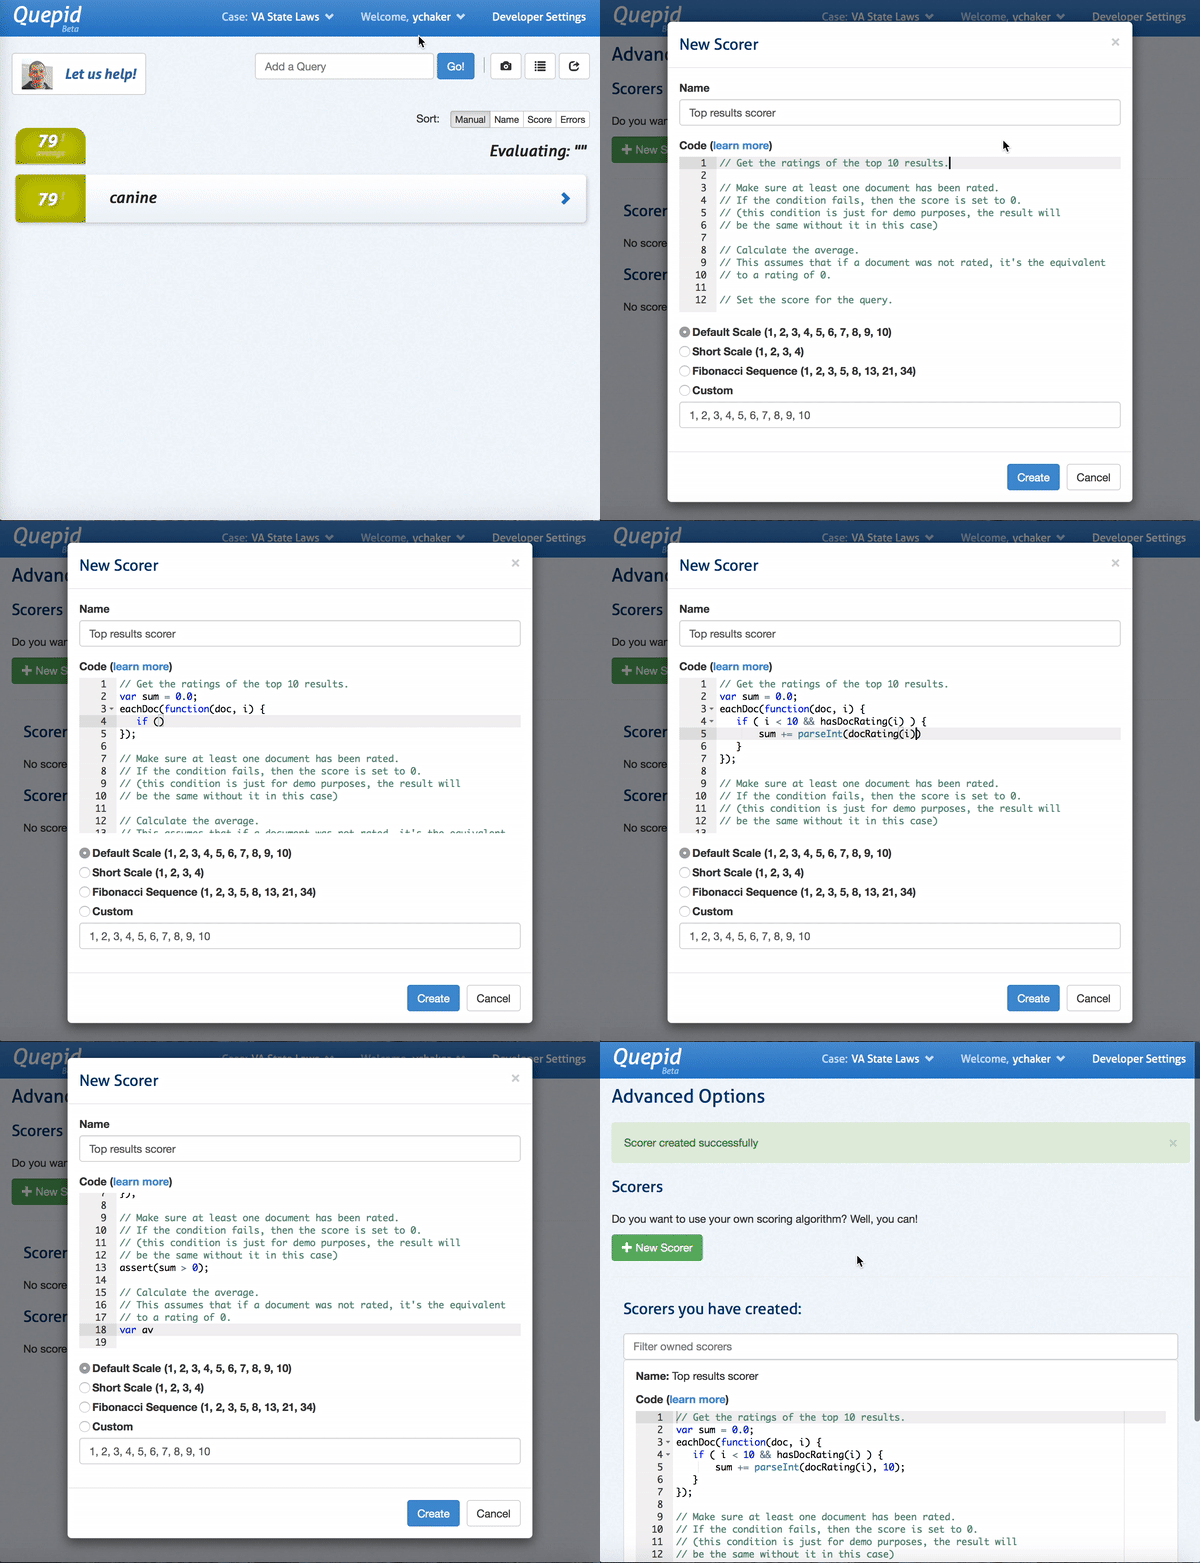
From the custom scorers page, click "New Scorer." From here, you can name your new scorer, provide custom scoring logic in javascript, and select the scoring range.
What can my code do?
Your code validates the search results that came back. Below is an API available for you to work with:
| Function | Description |
|---|---|
docAt(i) |
The document at the i'th location in the displayed search results from the search engine, including all fields displayed on Quepid. Empty object returned on no results. |
docExistsAt(i) |
Whether the i'th location has a document. |
eachDoc(function(doc, i) {}, num) |
Loop over docs. For each doc, call passed in function with a document, doc, and an index, i. You can pass in an optional num parameter to specify how many of the docs you want to use in the scoring (eg. to only use the top 5 results, pass in the number 5 as a second parameter. Default: 10
|
eachRatedDoc(function(doc, i) {}, num) |
Loop over rated documents only. Same arguments as eachDoc. Note: Needs rated documents loaded before usage, see refreshRatedDocs
|
refreshRatedDocs(k) |
Refresh rated documents up to count k. This method returns a promise and must be run before using eachRatedDoc. You should call then() on the promise with a function that kicks off scoring.
|
numFound() |
Solr has found this many results. |
numReturned() |
The total number of search results here. |
hasDocRating(i) |
True if a Quepid rating has been applied to this document. |
docRating(i) |
A document's rating for this query. This rating is relative to the scale you have chosen for your custom scorer. |
avgRating(num) |
The average rating of the returned documents. This rating is relative to the scale you have chosen for your custom scorer. You can pass in an optional num parameter to specify how many of the docs you want to use in the scoring (eg. to only use the top 5 results, pass in the number 5 as a second parameter. Default: 10
|
avgRating100(num) |
The average rating of the returned documents. This rating is on a scale of 100 (i.e. the average score as a percentage). You can pass in an optional num parameter to specify how many of the docs you want to use in the scoring (eg. to only use the top 5 results, pass in the number 5 as a second parameter. Default: 10
|
editDistanceFromBest(num) |
An edit distance from the best rated search results. You can pass in an optional num parameter to specify how many of the docs you want to use in the scoring (eg. to only use the top 5 results, pass in the number 5 as a second parameter. Default: 10
|
setScore(number) |
sets the query's score to number and immediately exits |
pass() |
pass the test (score it 100), immediately exits |
fail() |
fail the test (score it 0), immediately exits |
assert(condition) |
continues if the condition is true, otherwise immediately fails the test and exits |
setScore(number) |
sets the query's score to number and immediately exits |
Managing Scorers
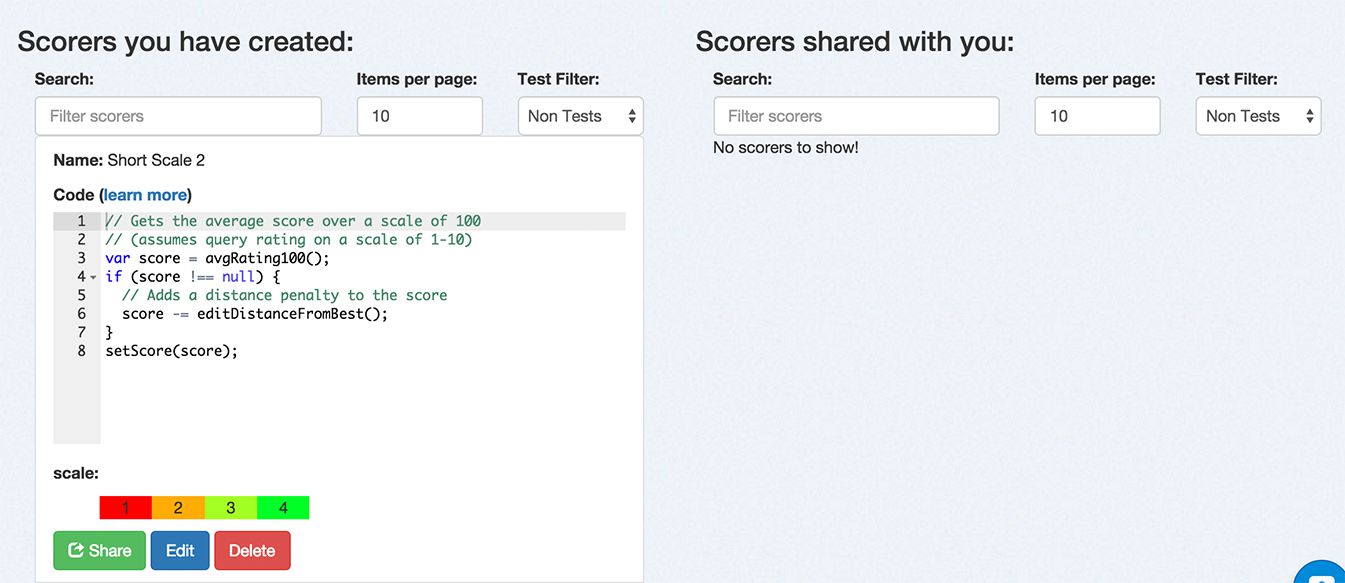
After you have created scorers, you can manage them from this page. You can filter down the list of scorers by name or type. You can share a scorer with a team. You can edit the settings for a scorer. Finally, you can delete a scorer.
Tuning Relevance
To modify your search settings, open the relevancy tuning panel by clicking the "tune relevance" link in the case actions area.
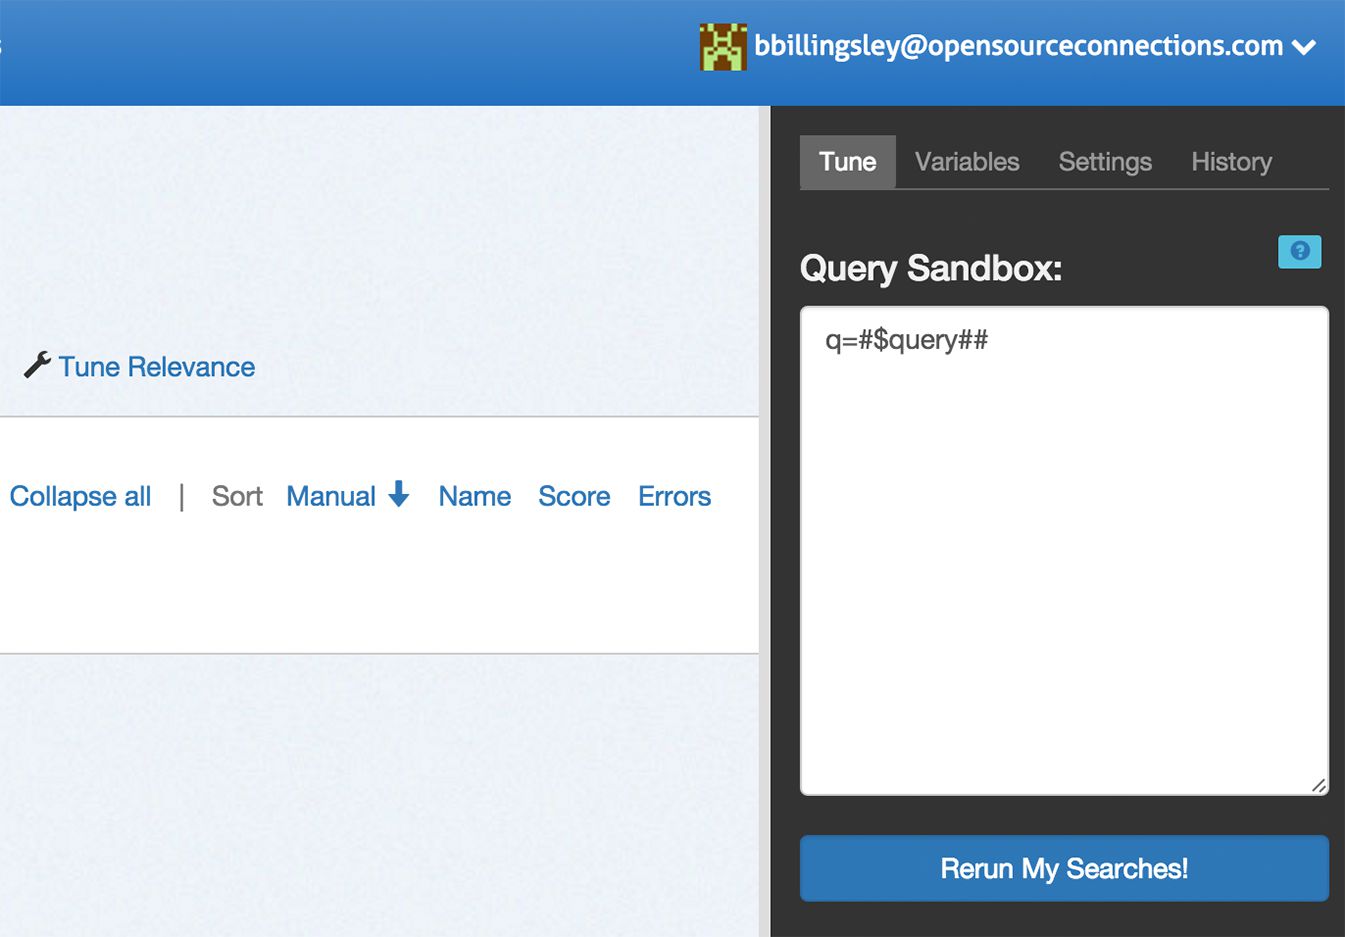
The default panel allows you to modify the Solr or Elasticsearch query parameters directly. Update your query here and click "Rerun my searches" to see the results update.
Magic Variables
"Magic variables" are, in other terms, placeholders. As you've probably already seen, you can add a list of queries that Quepid will automatically run against your search engine. And in the section above, you saw where you can specify what parameters are being sent along the call. But the trick is knowing how you can plug in the queries from the list you created into the parameters you've just built. This is where "magic variables" come in.
There are 3 types of "magic variables". Here's a description of each:
Query Magic Variable
The query variable is represented by the #$query## string. Quepid will replace any occurrence of that pattern with the full query. This is the simplest, yet also the most important one of the "magic variables".
Example:
Let's consider you have a movies index that you are searching against with Solr as the search engine, and you've specified the following simple query parameters: q=#$query##.
Let's also assume you've got the following queries that you've added in Quepid: "marvel" and "dc comics".
Quepid will call your Solr instance for each of those queries by passing it in the following parameters: q=marvel and q=dc comics. So the #$query## magic variable got replaced by the query strings for each query you've added to the case.
Curator Variables
Curator variables are mostly for convenience. It allows you to modify the query parameters without having to rewrite the query directly. The way to define a curator variable is to add the following pattern to your query parameters: ##variableName##.
They are used for numerical values only.
The benefit of the curator vars is to adjust certain parameters and tweak them in an easy way until you reach the desired output, like a boost for example.
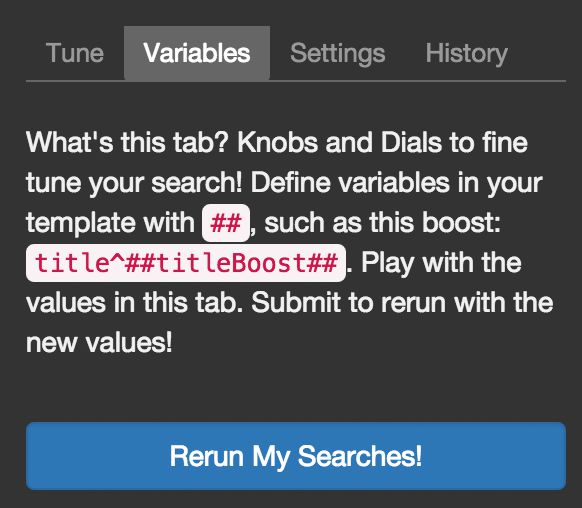
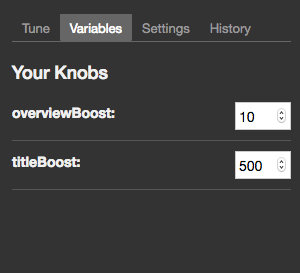
Once you've defined the curator var in the query params, it will show up in the "Variables" tab of the tuning pane.
Example:
Continuing with the example from above, let's say you've progressed and added the following to our query params: q=#$query##&defType=edismax&qf=title^500 overview^10 tagline&tie=0.5.
But you are still uncertain about the the boost values, so you replace the numbers with a curator var like so: q=#$query##&defType=edismax&qf=title^##titleBoost## overview^##overviewBoost## tagline&tie=0.5. Then in the "Variables" tab, you adjust the numbers as follows:
Keyword Variables
The query variable (#$query##) will be sufficient for 80% of the cases, but there are times when you need to break up the query send into different keywords that will be used in the query params in a different manner. This is where keyword variables come in. They are defined by the pattern #$keywordN## where N is an integer starting at 1.
Quepid will take the query that would normally be represented by #$query## and split in on whitespace, then replace each occurrence of #$keywordN## by the appropriate keyword from the query.
Example:
Using the same example from above where you've added the following queries: "marvel" and "dc comics",
let's assume that your query params looks like this now q=#$keyword1## where you only want to pass in the first word in the query to the search engine.
In this case, the following params would be send to the search engine: q=marvel and q=dc (notice how it dropped the "comics" part of the second query).
Of course you can imagine much more complex examples where the position of the word might affect the relevancy score of the results, or using permutations to come up with different phrases that might all be matched against. Example: "Web site developer" might be transformed in to "Web" + "developer" + "Web developer" + "site developer" + "web site", etc. And the results you return to your user would be the combination of all results that match all those permutations.
Settings
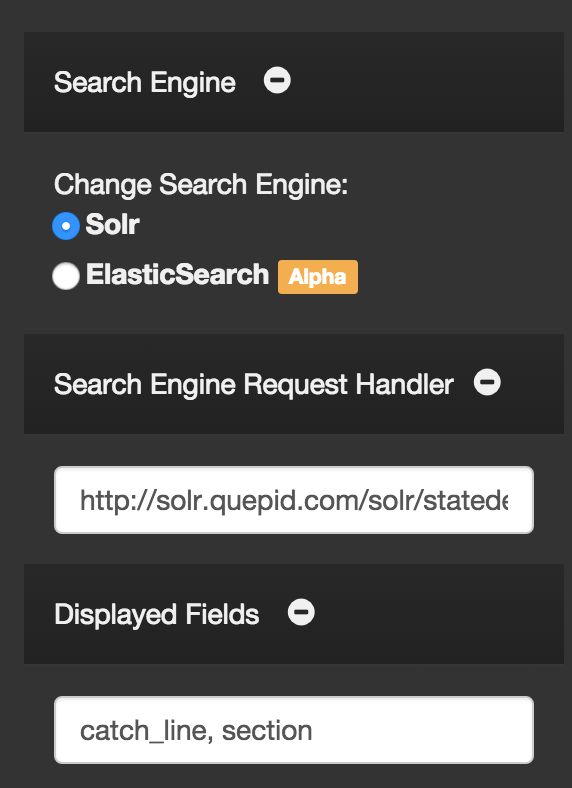
The settings panel allows you to modify the search configuration that you entered during the case's setup.
History
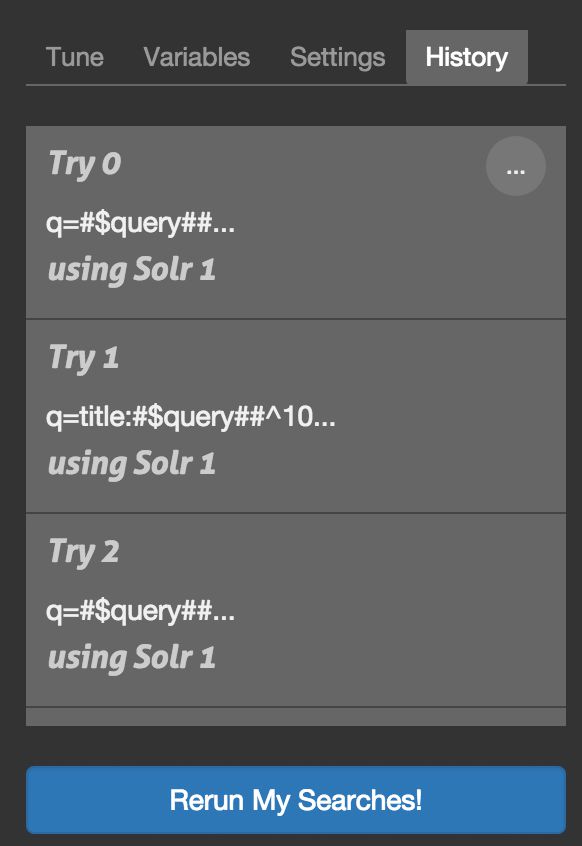
Each time you rerun your searches, a new "try" is generated in the search history. Clicking on a try will change the settings to that iteration, so you can move back and forth between different settings/configurations. You can also duplicate, rename or delete tries.
Teams
Clicking on the "teams" link in the main navigation will bring you to the page for managing teams.
Creating Teams

Clicking on the "New" button will allow you to add a team. Just provide a name and click "create" and the team will be added to the list of teams you own.
Managing Teams

From the teams page, you will see the summary information, including name, owner, number of members, and number of cases. You can change the name of the team by clicking "edit" or delete the team. To manage the details of the team, click on the name.
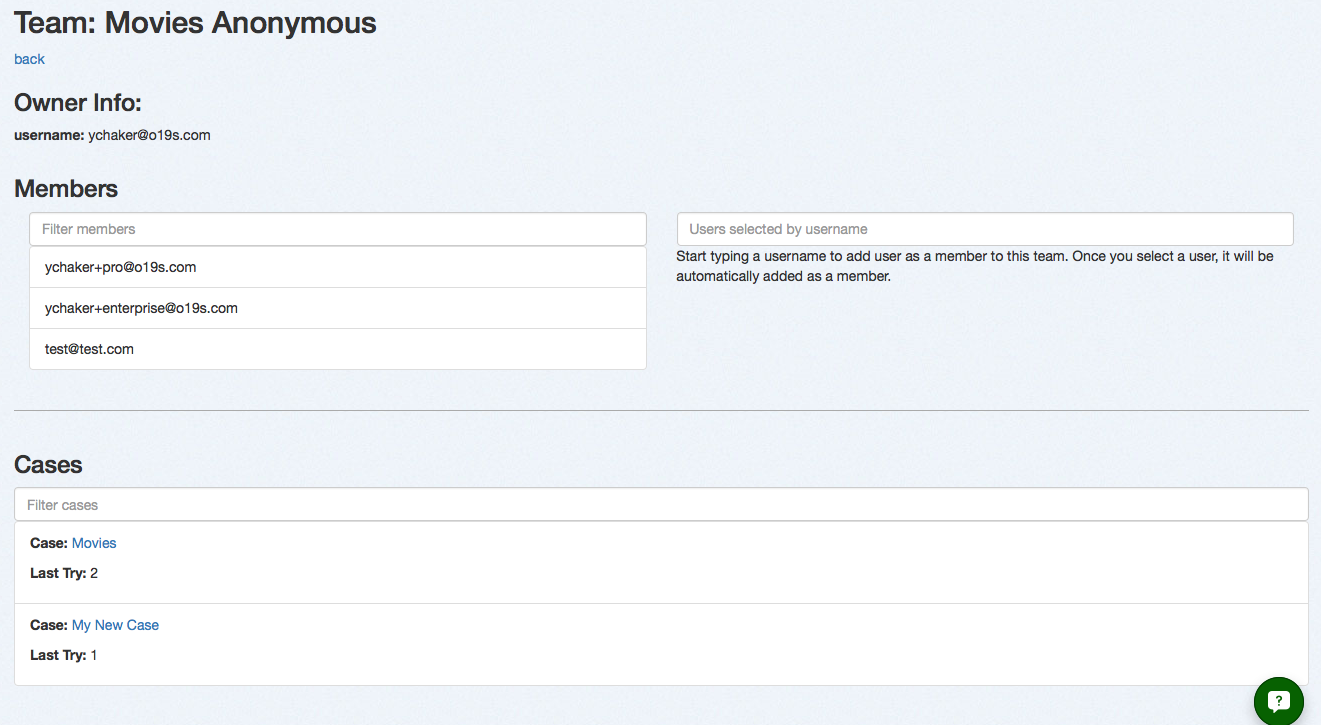
On the team detail page, you can view existing members, add new members, and view cases shared with this team.
Adding Users
To add members to a team, just start typing their email address into "add members" box.

If the email address isn't found, then it will change to a "send invitation" link. Clicking it will send (if email is configured) an email to the person inviting them to join Quepid. When they join via the invitation URL they will also join the team as well.

While the invitation is waiting to be accepted, you can copy the invitation link to send to the invitee via your own email or chat tools via the "clipboard" icon.

Troubleshooting
In this section you will find common troubleshooting tips. However, since browsers and search engines are constantly evolving, we also maintain a Troubleshooting Elasticsearch and Quepid and Troubleshooting Solr and Quepid wiki pages that you should consult for more up to date information.
Additional tips on using Quepid are listed at Tips for Working with Quepid wiki page as well.
Elasticsearch fields
Version 5.0 of Elasticsearch has introduced some breaking changes. One of them that affects how Quepid works is the name of the params, namely the fields param was renamed to stored_fields. You can read the details here: https://www.elastic.co/guide/en/elasticsearch/reference/current/breaking_50_search_changes.html#_literal_fields_literal_parameter.
In order for Quepid to be able to support both pre 5.0 and 5.x you need to specify which version you are on. By default, you are considered on version 5.0, so you won't have to do anything, but if you are on a version pre 5.0 you will need to update the Try settings.
To update the version used, you just need to go to the Tune Relevance pane, and then switch to the Settings tab and then change the following:
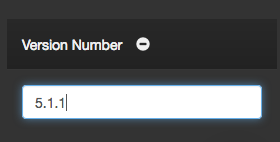
to any version lower than 5.0:
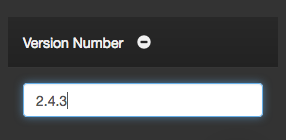
and then rerun the search and any error you were seeing should be resolved.